
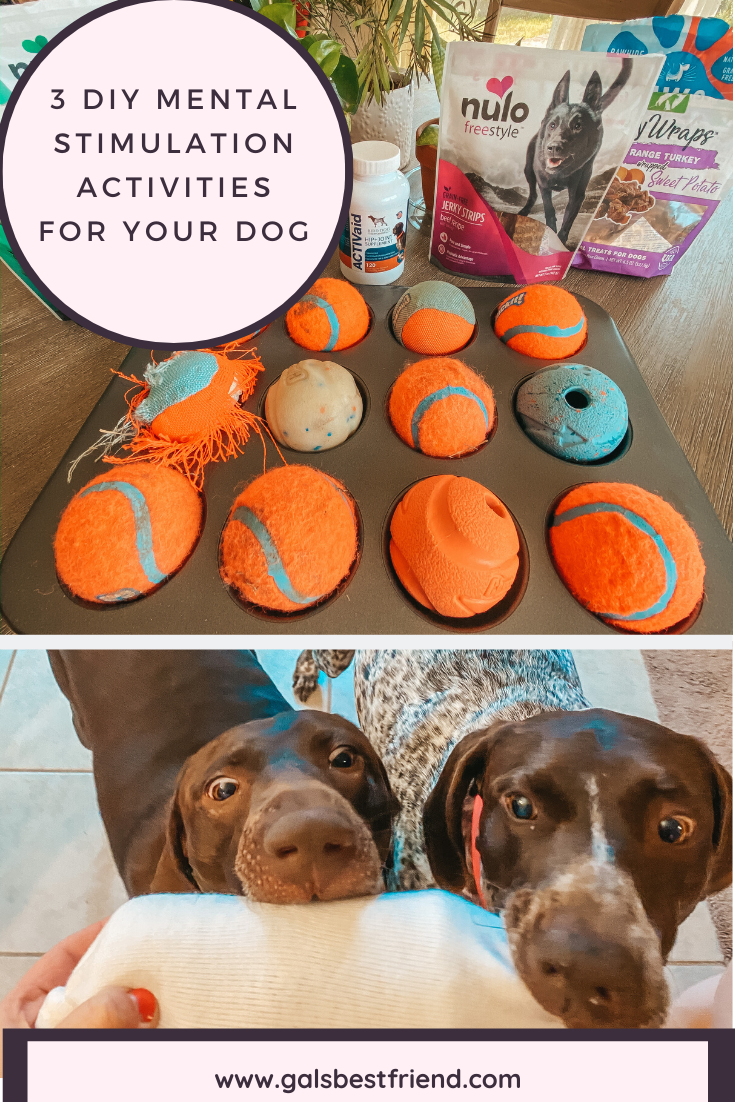
3 Ways the Stay-at-Home Dog Mom Gets Things Done
If you’re reading this, then you may need some help doing aaaall the things! Whether you work from home or just need to tidy up without distractions from your cute pup, here are our favorite DIY’s to help distract your dog, so you can complete all the things on your list!
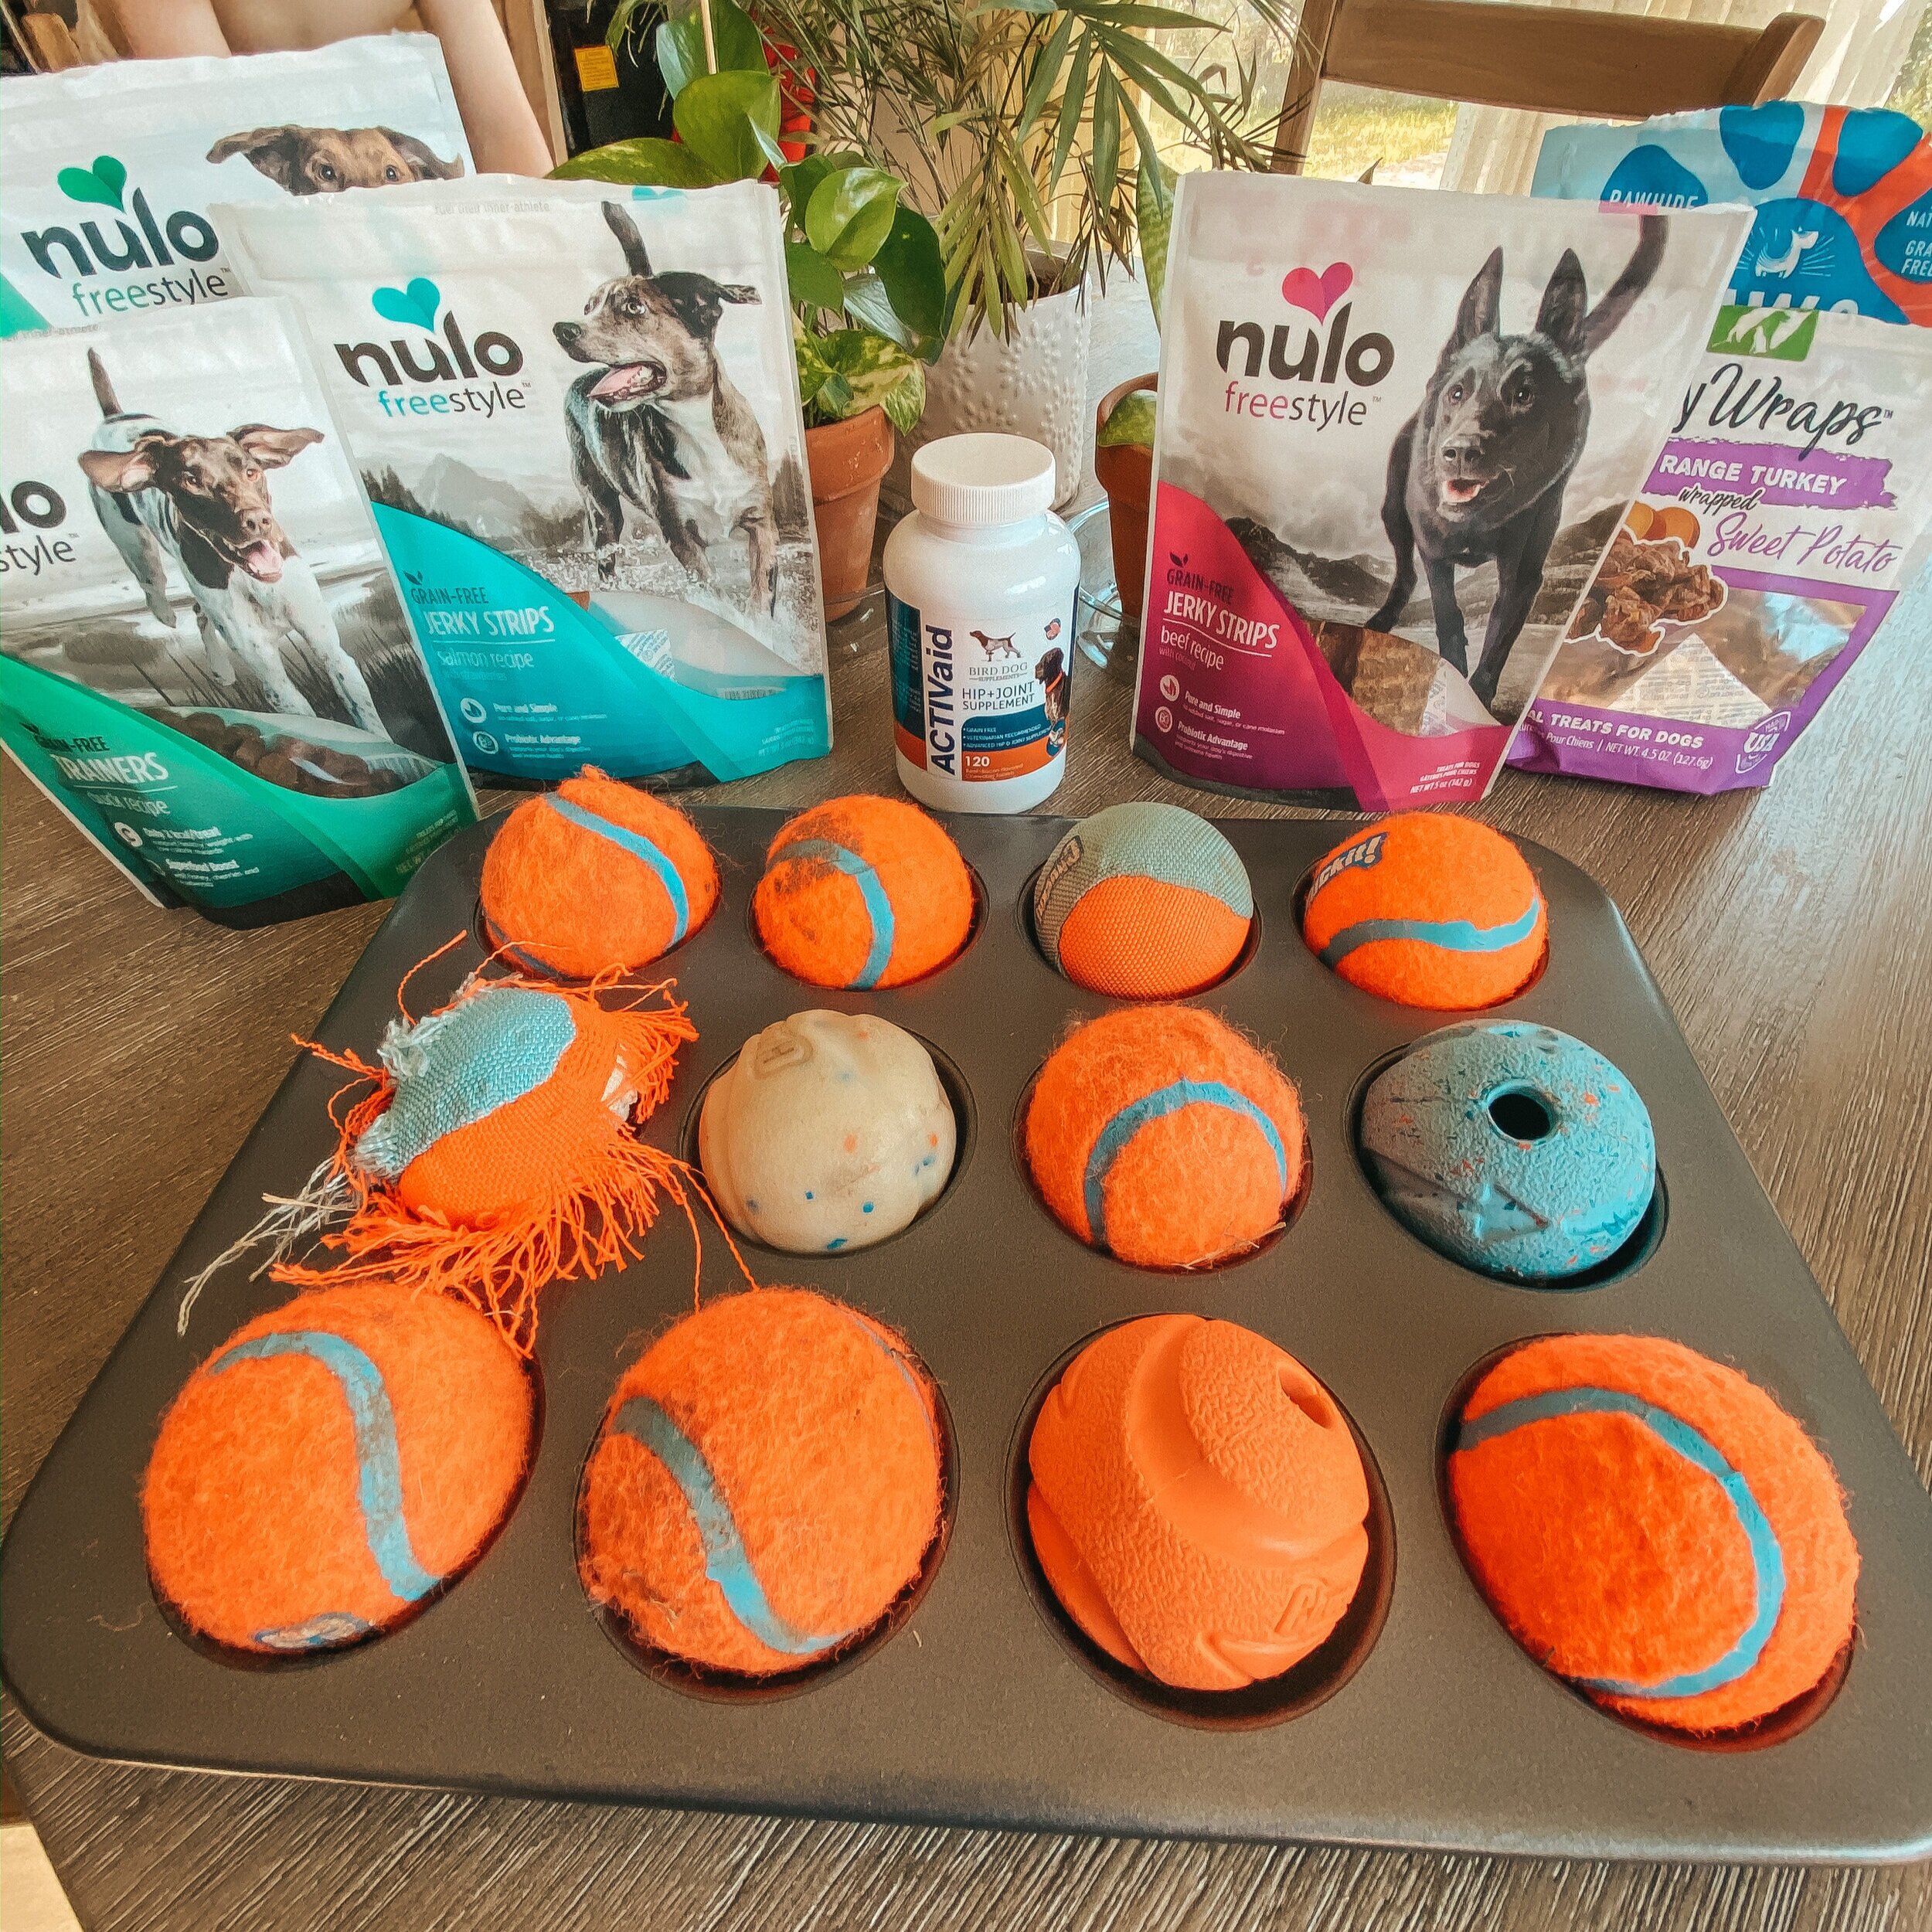
DIY Distraction #1: DIY Treat Puzzle
The easiest of these DIYs, but quite possibly the fastest for your pup to get through! I am pretty positive that you have seen variations of this puzzle before. The goal of the game is to encourage your dog to sniff out the treats and try to dislodge the tennis balls so he can get the treats. I like to use variations of kibble, treats with different flavors and textures, and I will even leave some of the tins empty just to switch it up and really make my dogs work.
Supplies:
Muffin tin
Treats
Tennis balls
Directions:
Place a treat in each hole of the muffin tin.
Place a tennis ball on top of the treat. That’s it! Seriously, that’s it.
Note: For standard size muffin tins, the tennis ball fits perfectly.
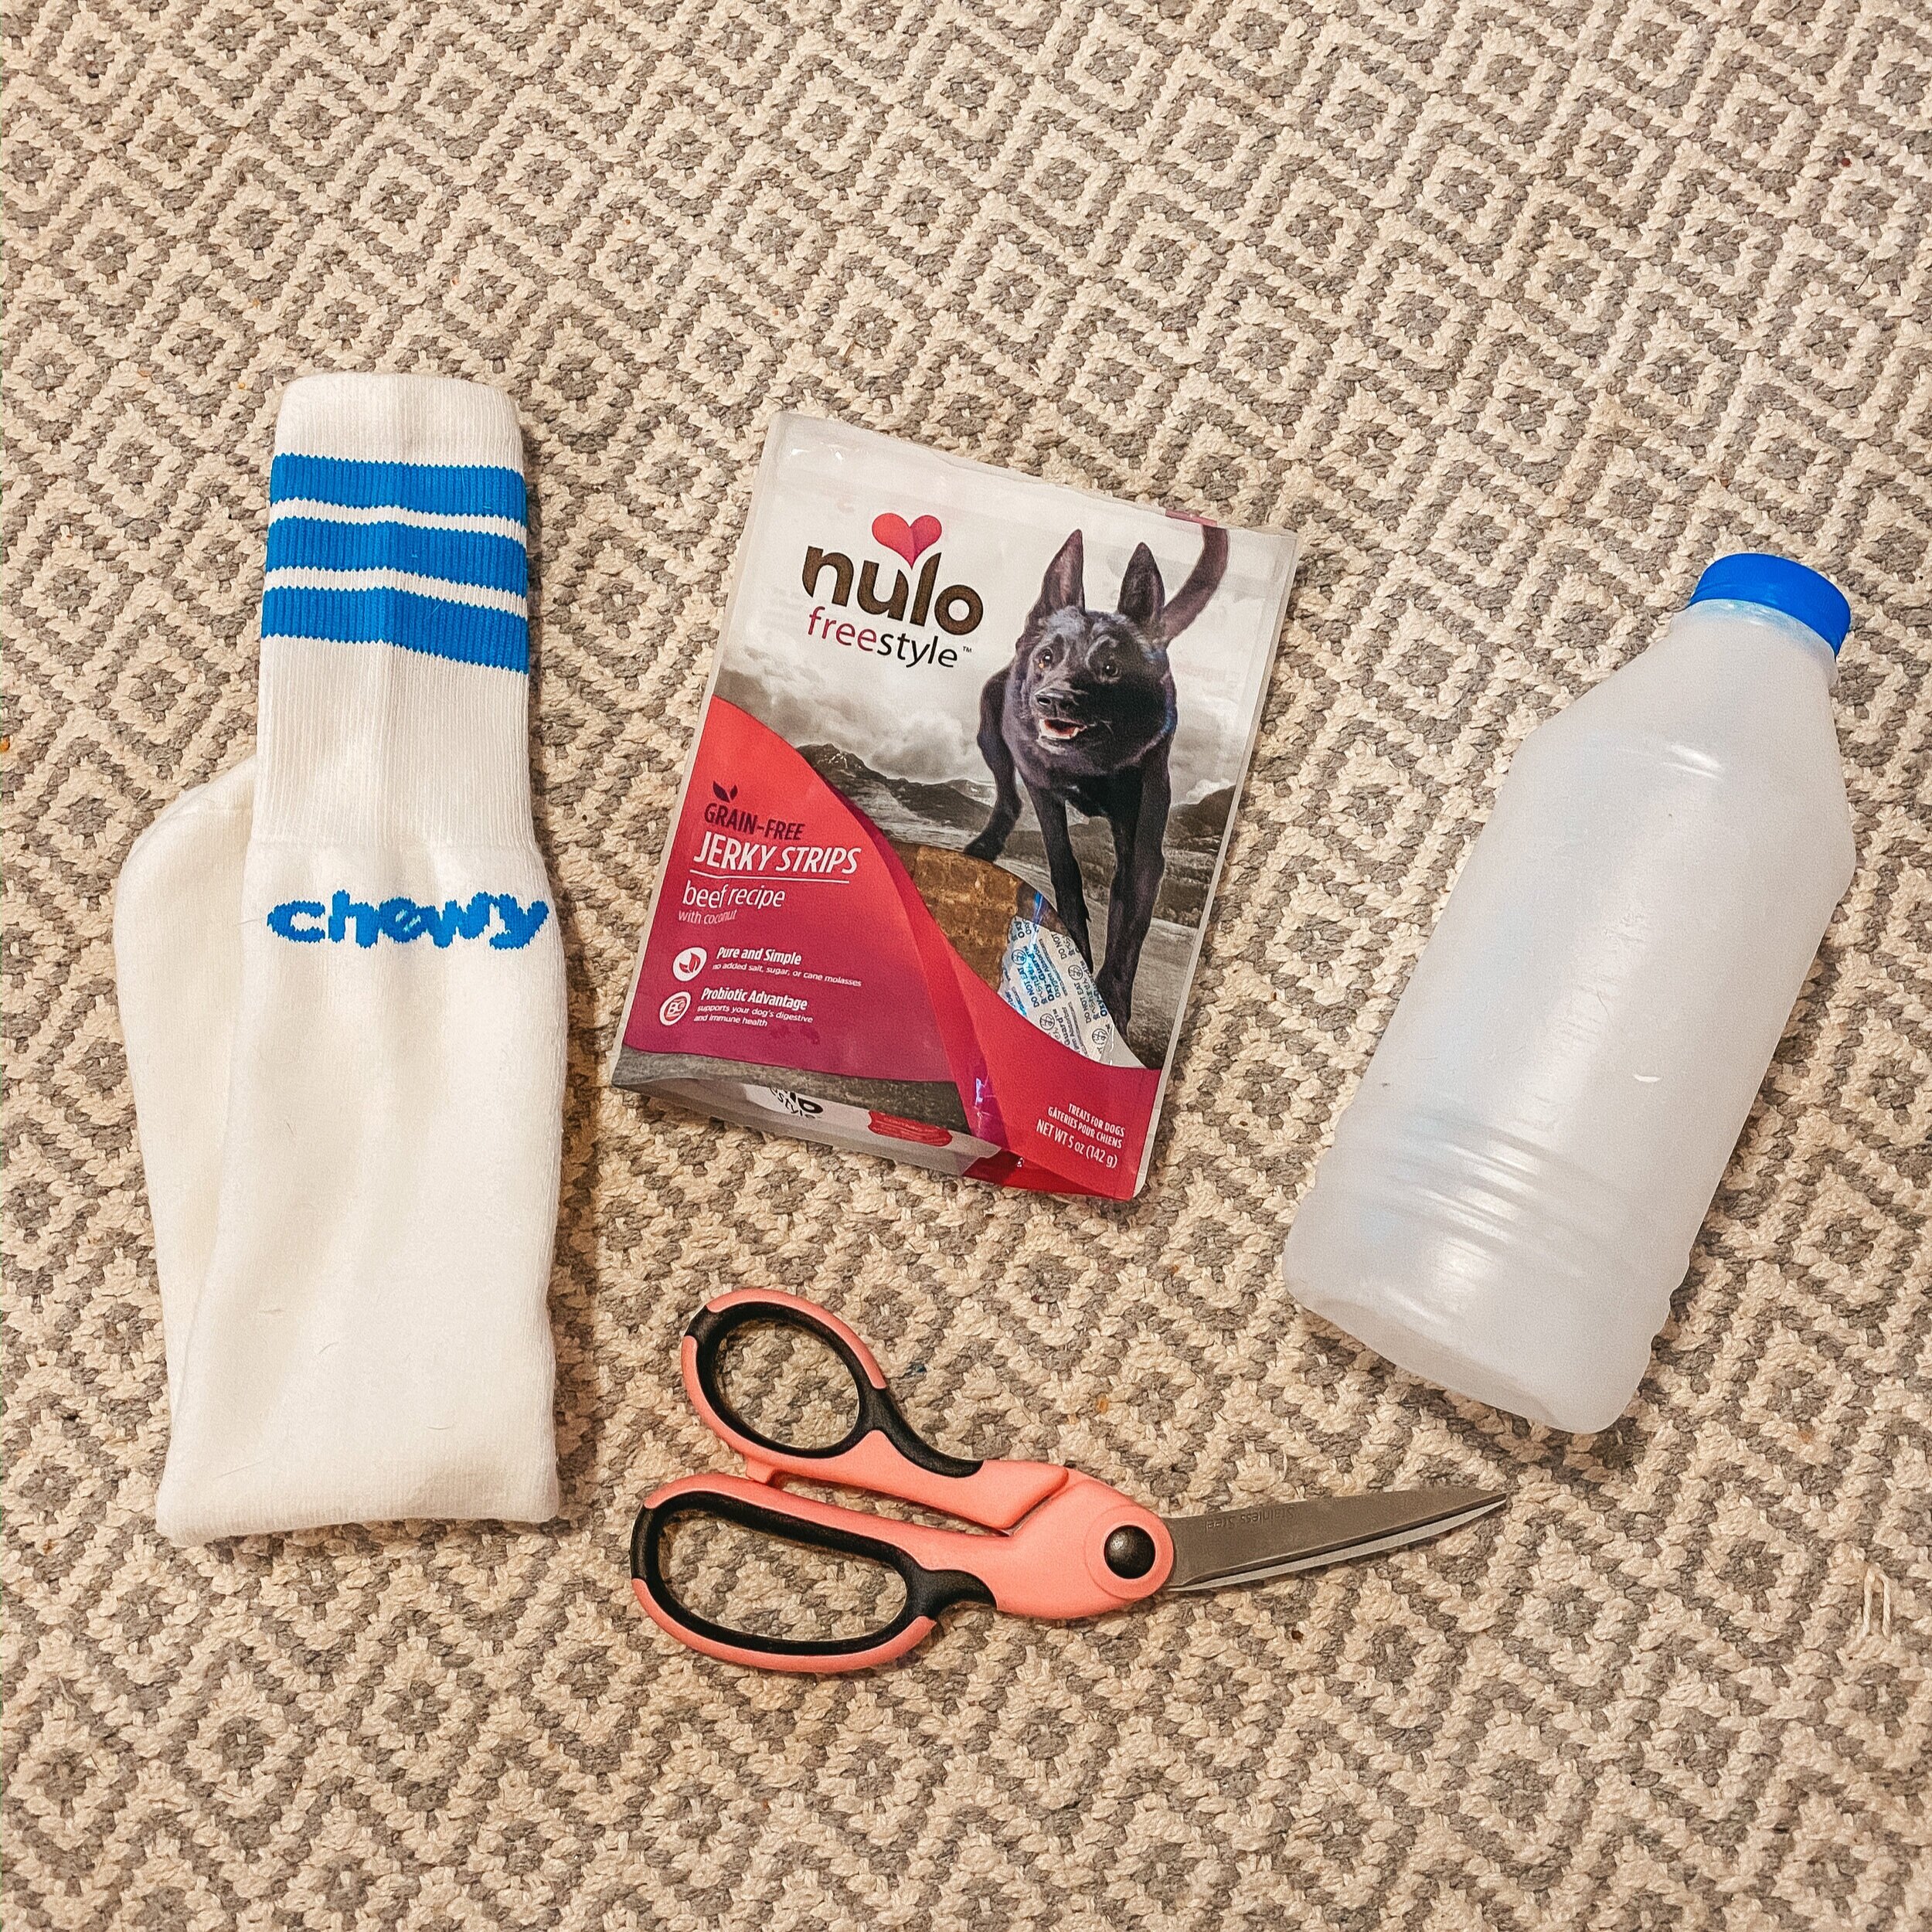


DIY Distraction #2: H2O Bottle Stuffed Tee
This one seems pretty simple, but it takes a little more leg work than the treat puzzle. Have you seen those Kong toys with the water bottles inside that crinkle and make dogs go crazy? This is our at-home version of that!
Supplies:
Plastic bottle (we prefer thicker bottles so they aren’t easily destroyed)
A tube sock
Scissors
Kibble or crunchy treats (for extra doggy determination!)
Directions:
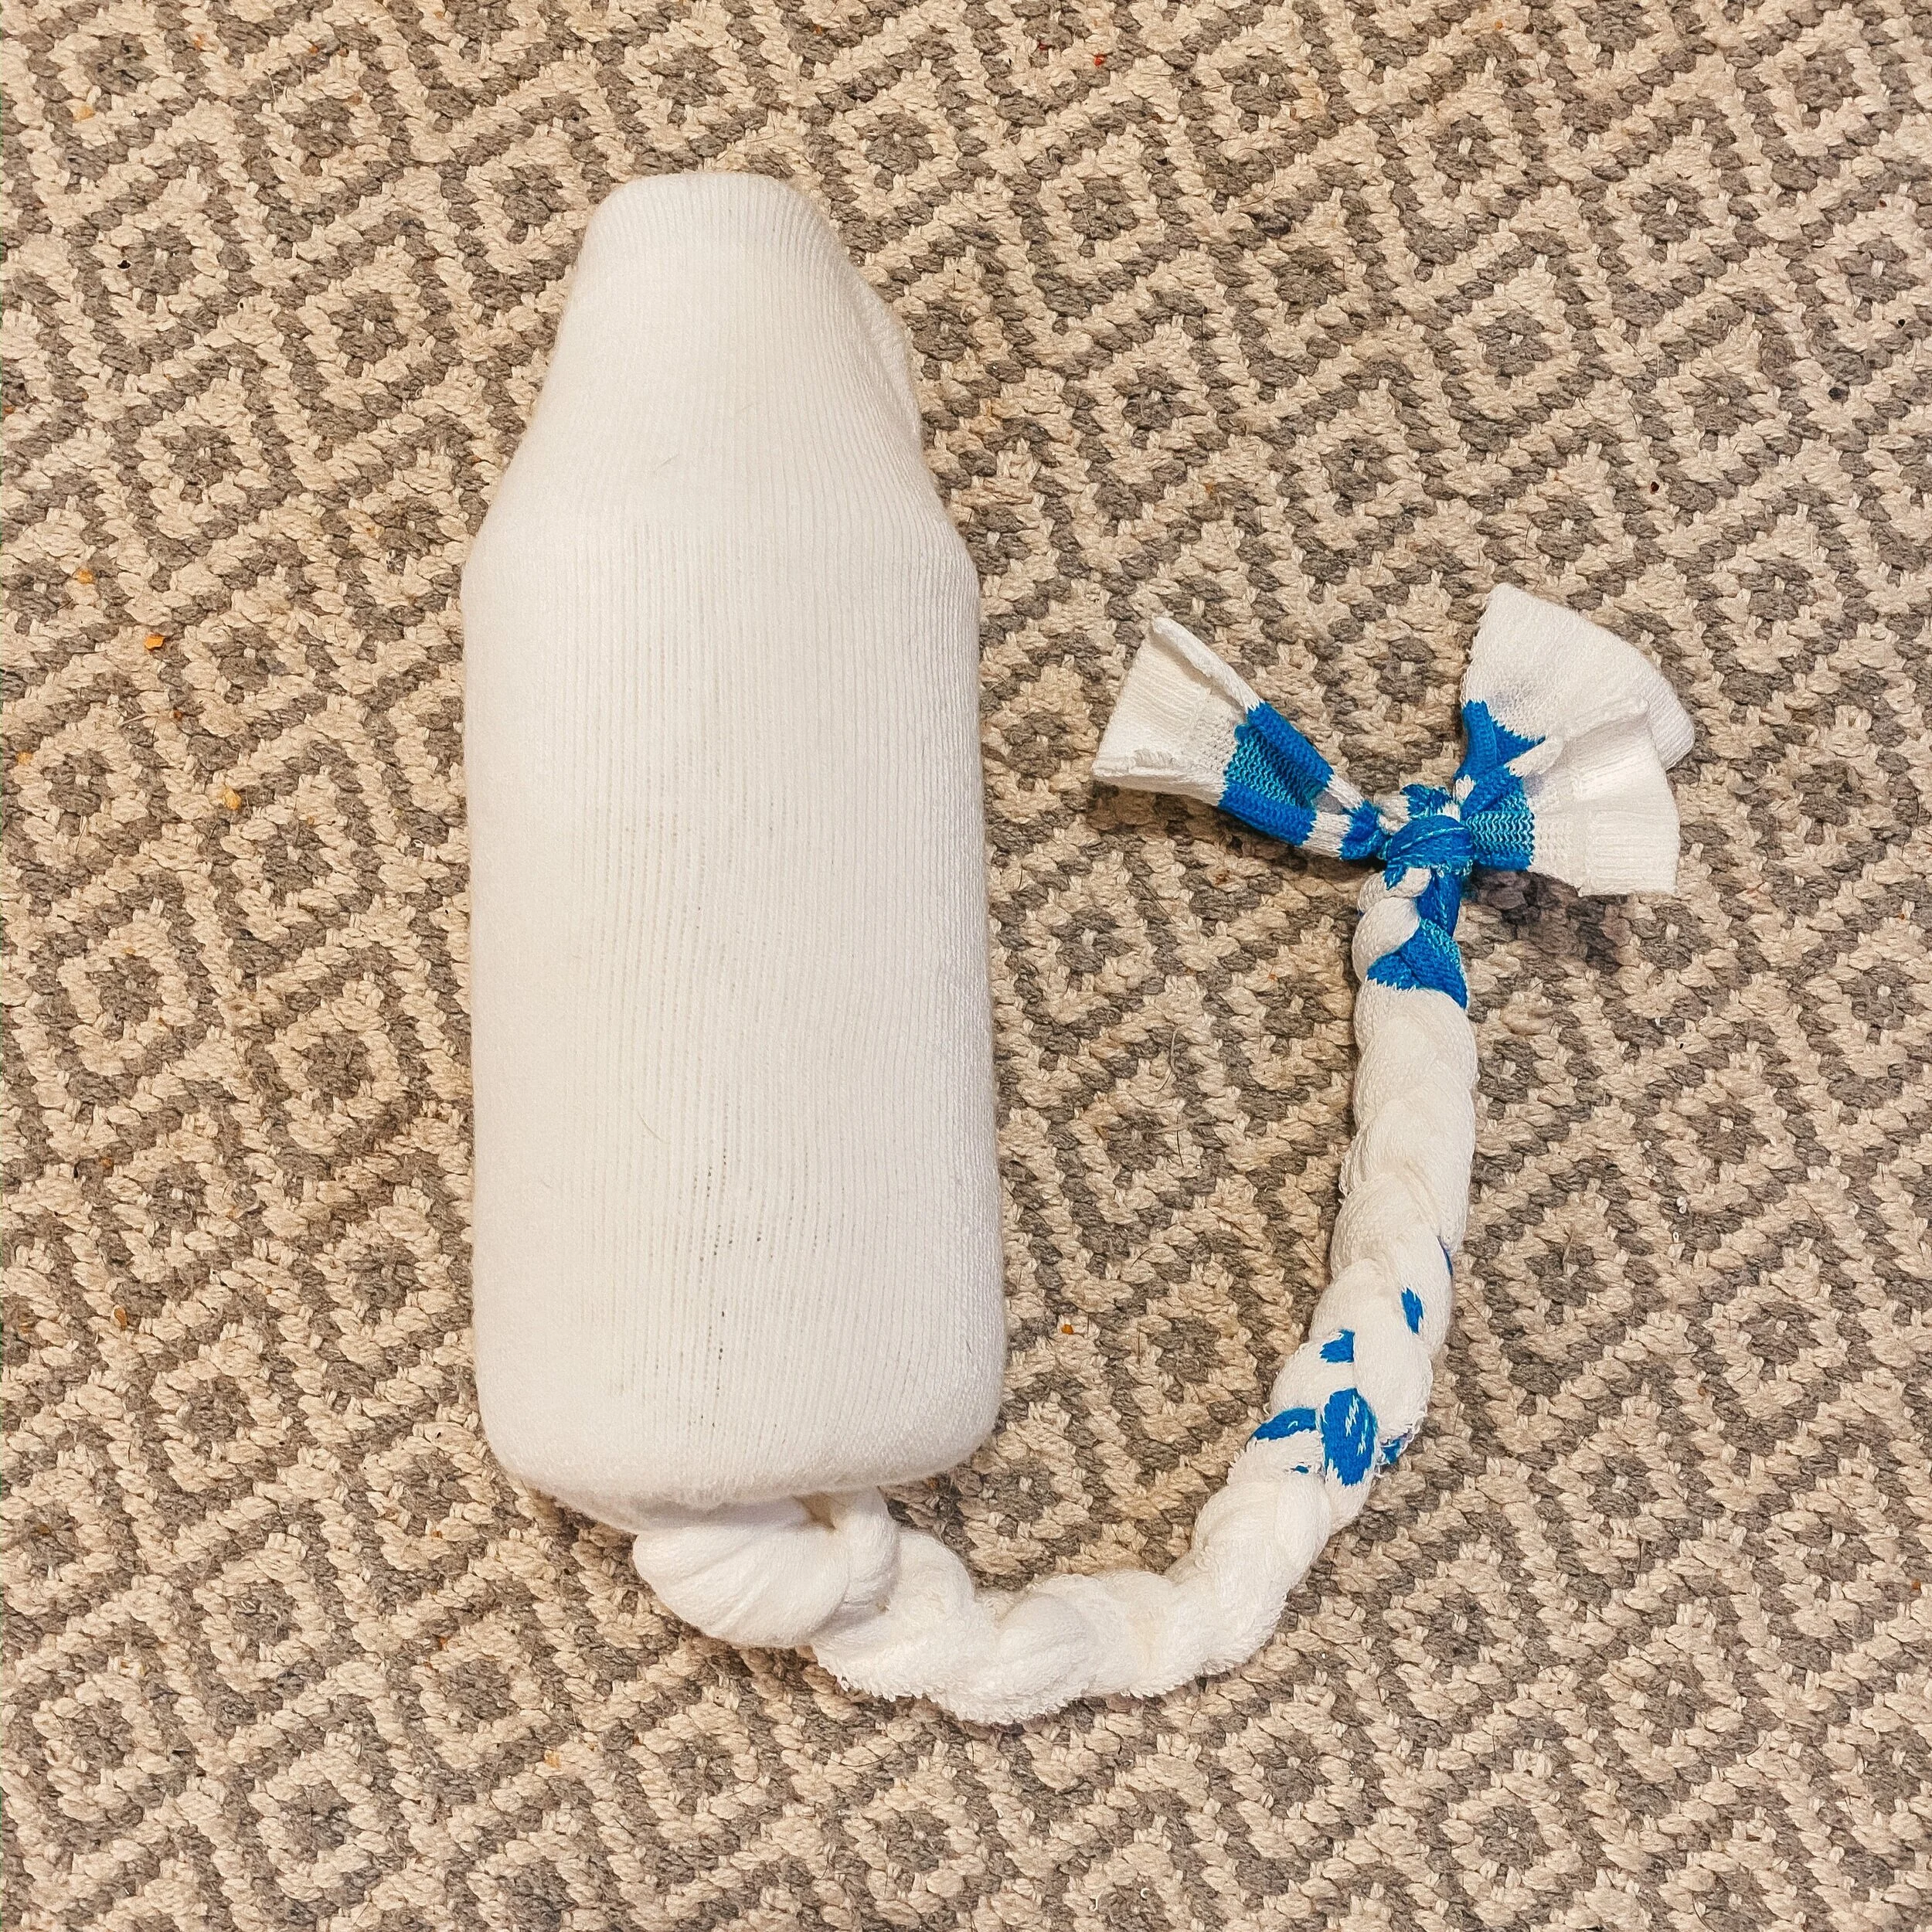
Take a handful of kibble or crunchy treats and place them into your water bottle (do not return the lid to the bottle).
Shove your bottle into the tube sock, neck of bottle going in first.
Cut the excess fabric near the cap of the bottle into 3 even(ish) strips. Braid all the way down, securing with a knot at the end.
Modification: If you don’t want to deal with the treats, leave the cap on the bottle and place directly into the sock.


DIY Distraction #3: Tee-nnis Ball
This DIY is very similar to the last DIY, but if your dog isn’t driven by the crinkly sound of the water bottle or the noise the noms make in the bottle, then maybe she is driven by squeaky balls or tennis balls! This DIY has an optional variation for more driven dogs.
Supplies:
Tennis ball or squeaky (based on your dog’s preference)
Half a yard of fabric (we cut up old t-shirts from the Salvation Army! Pro tip - apparel is half off on Wednesdays!)
One 2” ribbon/fabric
Scissors
Optional: treats
Directions:
Cut your fabric into two strips - about 6x14 inches
Fold the strips of fabric in half then wrap them around your ball (be sure the ball is in the center of the two folds)
After wrapping it two to three times, tie your ribbon/fabric as tight as you can at the base of the ball to make sure it’s secure
Cut the excess fabric into 3 even(ish) strips and braid all the way down. The tighter you make the braids, the more difficult it is to rip them apart. if you want to go the extra mile, cut into 6 or 9 even(ish) strips and tightly braid them.
Using the excess fabric at the end of the braids, tie several knots to keep them in place
Modification: Use an old tennis ball (or cut a slit in a new one) and stuff treats into it! Then continue the steps of this DIY. If you need to make your own slit in the tennis ball, carefully use a box cutter or utility knife and make a smile-shaped arc that follows the white line. Squeeze the sides of the ball to open it up, pop some treats inside, and voila!
We hope these tips and tricks help you get some things done while at home with your pup! These DIY’s have actually made it possible for me to write this blog post for you. So, happy DIY-ing, gals!
NOTE: Always supervise your pet when playing with homemade toys. These are not indestructible. If they start to chew or swallow any pieces, retrieve the toy immediately and throw it away! We are not responsible for any injuries caused by these DIY’s. So, play responsibly!
PIN IT!